Yes, you can replace your laptop keyboard yourself—on many laptops.
The “catch” is that laptop keyboard designs vary a lot. Some keyboards are held in by a few screws and a single ribbon cable,
while others are riveted into the top case, meaning the easiest repair is replacing the entire palm-rest/top-case assembly.
This guide helps you quickly figure out which type you have, what tools you’ll need, how the replacement process usually works,
and how to avoid the most common mistakes that cause broken clips, torn ribbons, or a keyboard that doesn’t work after install.
If your laptop uses a screw-in keyboard or a keyboard that’s accessible after removing the bottom cover,
DIY replacement is often reasonable. If your keyboard is riveted (common on thin modern laptops),
DIY becomes much harder and professional service may be the better option.
Step 1: Identify your keyboard design (easy vs hard)
Before ordering parts, identify which of these designs your laptop uses. This determines difficulty.
| Keyboard design | How it’s built | DIY difficulty | Typical clue |
|---|---|---|---|
| Top-access keyboard | Keyboard can be removed from above (older designs) | Easy | Small tabs/clips along the top row area |
| Bottom-access keyboard | Remove bottom cover to reach keyboard cable and screws | Medium | Keyboard held by screws + ribbon cable |
| Riveted keyboard (top case) | Keyboard is permanently attached to palm-rest/top case | Hard | You see melted plastic rivets or many “one-way” posts |
| Integrated assembly | Keyboard + palm rest + sometimes touchpad is one assembly | Hard | Service manual lists “top cover/upper case” replacement |
Search your exact laptop model + “service manual” or “keyboard replacement”.
If the manual says “remove motherboard to access keyboard” or “replace top cover assembly,” it’s not a beginner-friendly DIY job.
Step 2: Should you DIY or use a repair shop?
DIY is usually a good choice if you have basic tools and patience, and the laptop is a screw-in keyboard design.
Consider professional service if:
- The keyboard is riveted to the top case
- You need to remove the motherboard to reach the keyboard
- There was liquid damage (multiple components could be affected)
- You rely on the laptop daily and can’t risk a longer downtime
If your laptop can be opened to the keyboard cable with a bottom cover removal and no deep disassembly, DIY is usually reasonable.
If you must remove many internal layers, it’s often faster and safer to have a shop do it.
Tools & prep (what you actually need)
For most DIY keyboard replacements, you’ll need:
- Small screwdriver set (precision Phillips; sometimes Torx depending on brand)
- Plastic pry tool/spudger (to avoid damaging clips)
- Small container for screws (keep them grouped by step)
- Clean, well-lit workspace
DIY overview: the safe replacement workflow
The exact steps vary by laptop model, but the safe workflow is consistent:
- Power off completely and unplug the charger.
- Remove the bottom cover (if your design is bottom-access).
- Disconnect the internal battery if accessible (prevents accidental shorts while working).
- Locate the keyboard ribbon cable and identify the connector type.
- Unlock the ZIF connector (flip/slide latch gently), then remove the ribbon cable.
- Remove keyboard mounting screws/clips (varies by model).
- Install the new keyboard, reconnect the ribbon cable, and lock the connector.
- Reassemble and test every key before fully tightening everything.
Most laptop keyboard cables use a ZIF-style connector with a small locking bar. The cable won’t come out cleanly unless the lock is opened.
Forcing it can tear the ribbon or break the connector.
Common mistakes to avoid
- Tearing the ribbon cable by pulling before unlocking the connector
- Breaking plastic clips by using metal tools or too much force
- Mixing screws (different lengths in different holes can damage the chassis)
- Not testing before reassembly (always test keys first)
- Ordering the wrong layout (US/UK/DE/FR layouts differ in key shape and legends)
How to buy the correct replacement keyboard
The most common reason DIY fails is not the installation—it’s ordering the wrong keyboard.
Match these before you buy:
- Exact laptop model (full model code from the bottom label)
- Keyboard layout (US/UK/DE/FR, etc.)
- Backlight (backlit vs non-backlit)
- Connector/ribbon type (when possible)
- Top-case vs keyboard-only (some laptops require a full upper case assembly)
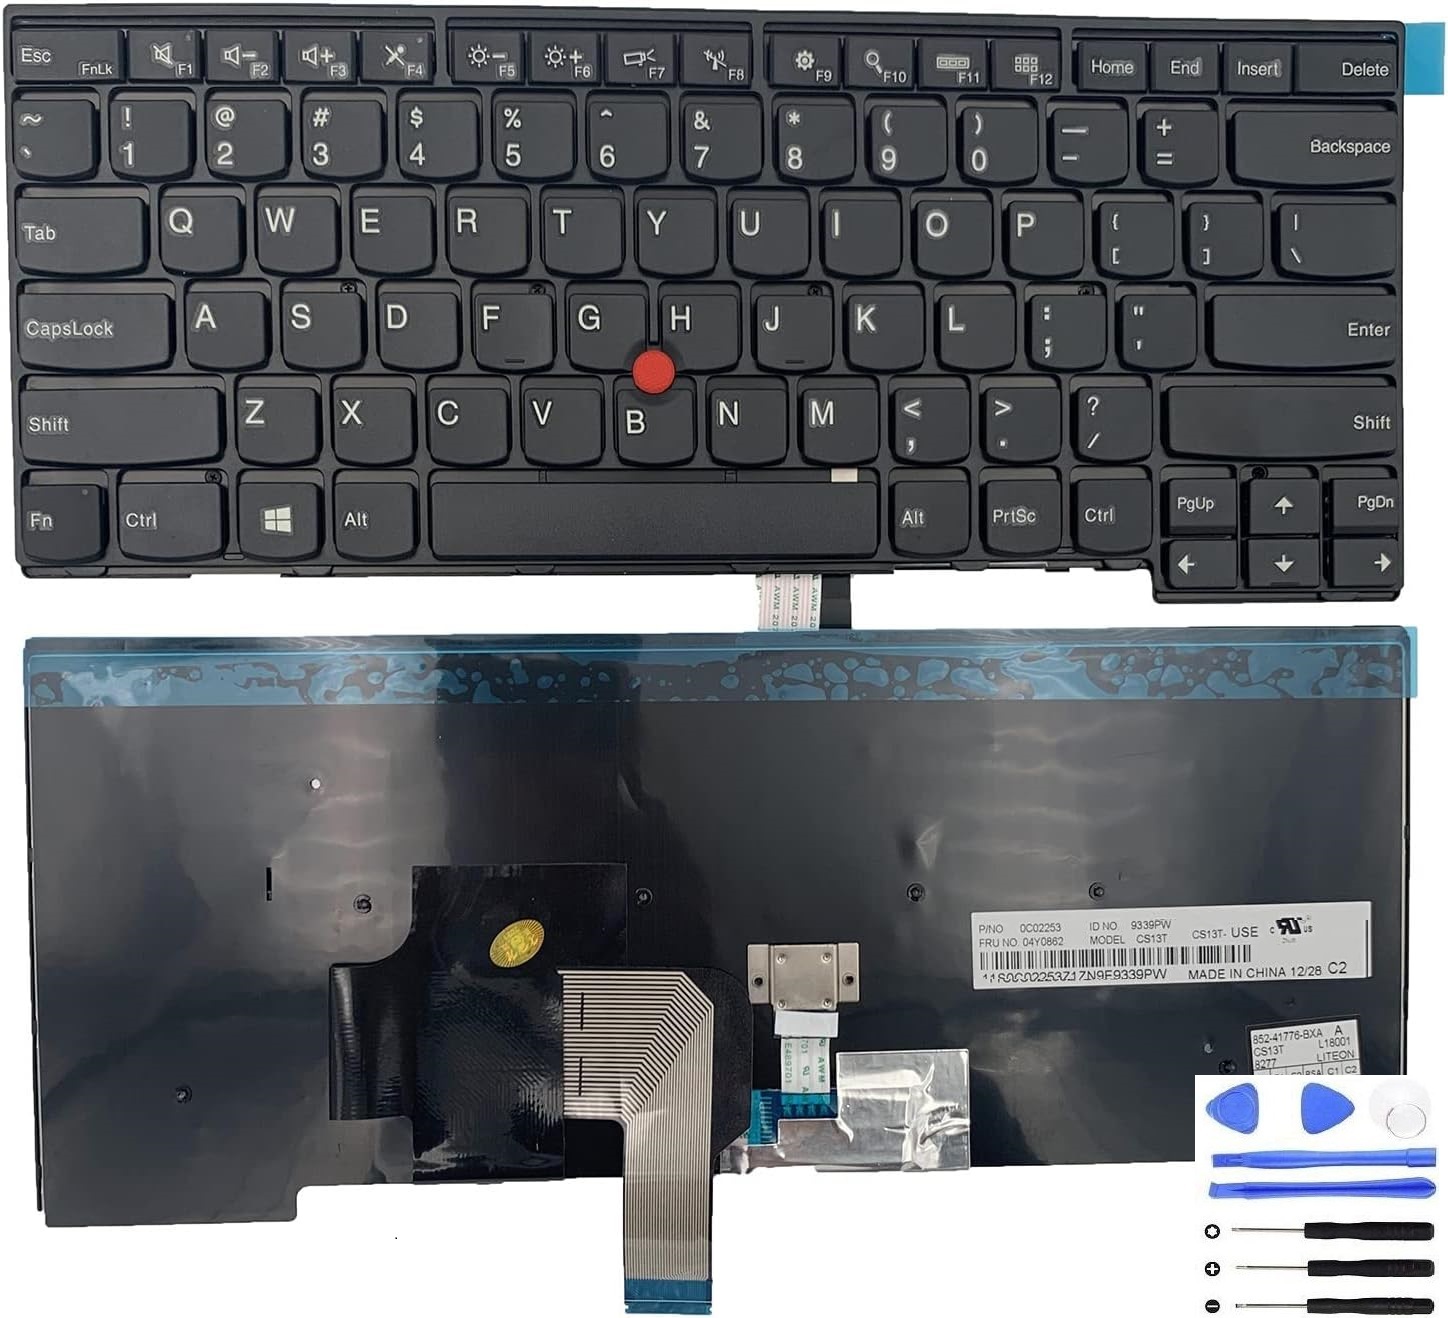
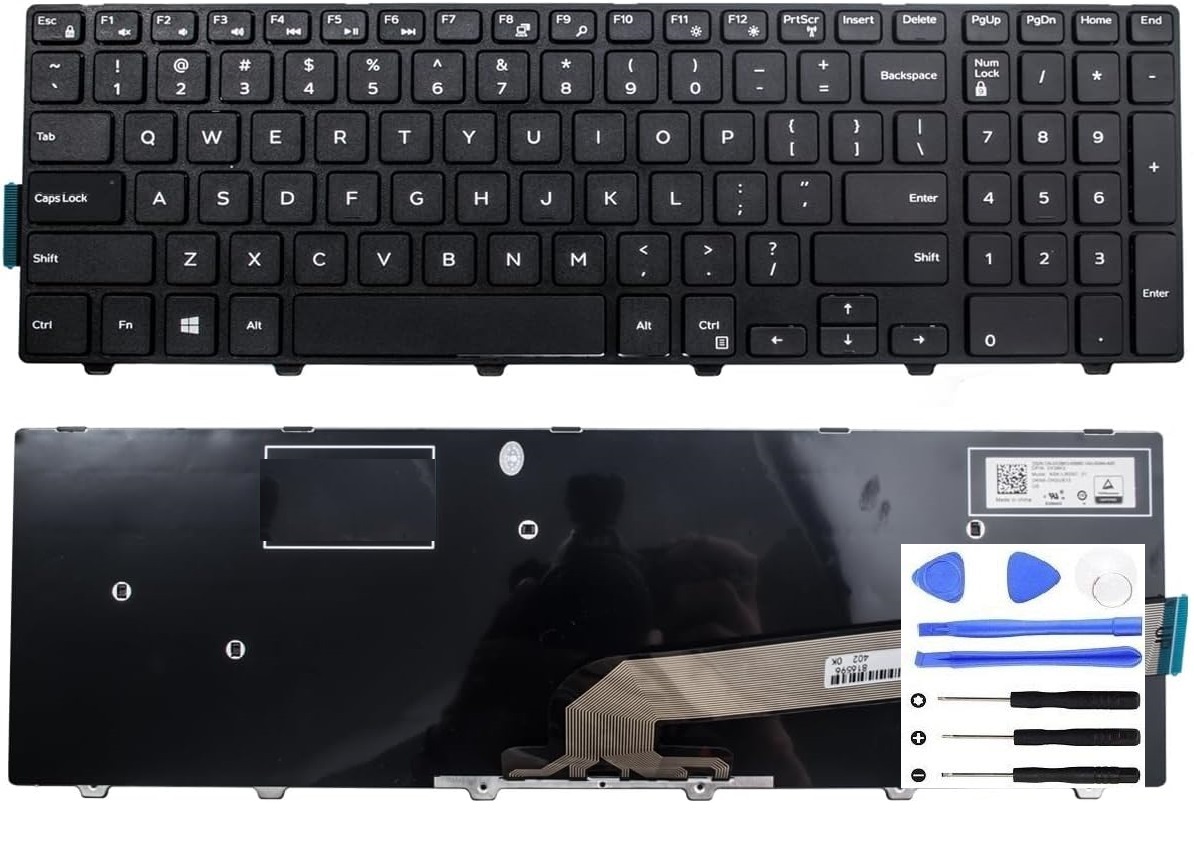
Replacement laptop keyboard (clickable images)

FAQ
Is keyboard replacement hard for beginners?
It depends on the laptop design. If it’s a screw-in keyboard accessed by removing the bottom cover, many careful beginners can do it.
If it’s riveted into the top case or requires removing the motherboard, it’s a much more advanced repair.
What if only a few keys don’t work?
If the same keys consistently fail across BIOS and Windows, it’s likely hardware. If keys work in BIOS but not Windows, check settings/drivers first.
Can I just replace individual keys instead of the whole keyboard?
Sometimes, but it depends on the key mechanism and damage. If the scissor hinge or keyboard membrane is damaged, replacing the entire keyboard is usually more reliable.
Fixing-Tools products are compatible replacement parts and are not affiliated with or endorsed by any brand manufacturer.