This guide walks you through a safe, step-by-step replacement of the HP HT03XL (L11119-855) 41.04Wh battery found in many HP 14″/15″/17″ laptops. It covers tools, preparation, disassembly, installation, and post-install checks/calibration.
Before you start
- Back up data and shut down Windows completely. Unplug the AC adapter and peripherals.
- ESD safety: work on a non-conductive surface; wear an anti-static strap if available.
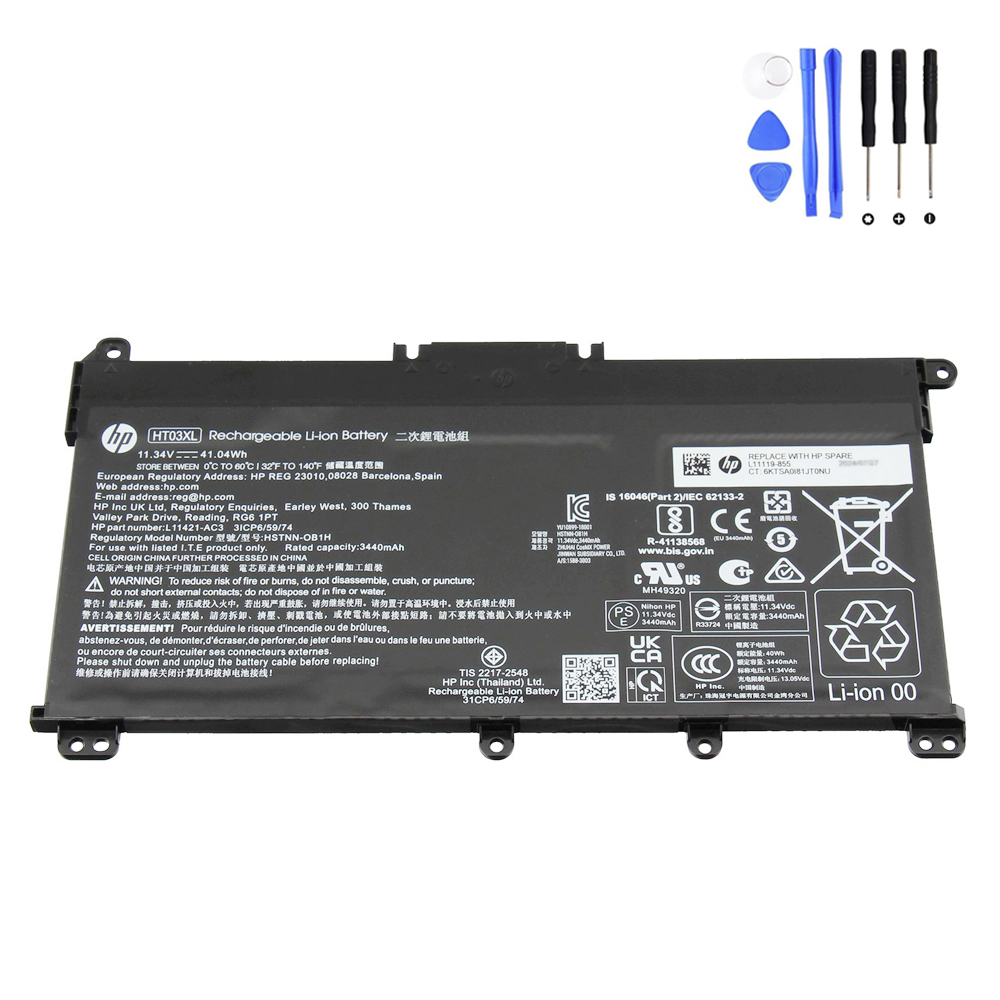
- Check the label on your old pack (HT03XL / L11119-855, ~11.4–11.55V, ~41Wh) to confirm compatibility.
Tools you’ll need
- Precision Phillips #0 / #00 screwdriver (some models use Torx T5 for the base screws)
- Plastic spudger / opening pick (to release the base-cover clips)
- Tweezers (optional, for cable guidance)
- Small container for screws
Optional: put the battery in “safety mode”
Some HP models support a BIOS option that disables the internal battery until AC is connected again. If available: power on → press Esc → F10 BIOS → look for battery disable/safety setting → apply and shut down.
Step-by-step replacement
- Remove the base cover.
With the laptop upside-down, remove all visible base screws (note locations/lengths). Insert a plastic pick at a rear corner and gently work along the edges to pop internal clips. Lift the cover away. - Disconnect the internal battery.
Locate the HT03XL pack. Use a spudger to wiggle the battery connector straight out of its socket on the motherboard. Do not pull on the wires. - Remove the battery screws.
The pack is usually held by several Phillips screws. Remove and set them aside in order. - Lift out the old pack.
Lift from the non-cable end first; watch for any cable snags under the frame. HT03XL is not usually glued—if it feels stuck, check for missed screws. - Place the new HT03XL.
Align the screw holes and cable path. Lay the pack flat without pinching speaker or Wi-Fi antenna leads. - Re-install screws & reconnect.
Install all battery screws snug (do not over-tighten). Reconnect the battery cable, pressing evenly until fully seated. - Re-fit the base cover.
Engage the clips along the edges, then replace the screws in their original positions/lengths.
First boot & calibration
- Connect AC and power on. If the laptop doesn’t respond, hold the power button for 15–20 seconds (EC reset), then try again.
- Once in Windows, charge to 100% and keep charging for 30–60 minutes.
- Use on battery down to ~10–20% and recharge to 100% (one calibration cycle improves the gauge).
How to verify the new battery
- Open an elevated Command Prompt and run:
powercfg /batteryreport /output "%USERPROFILE%\Desktop\battery-report.html"
- Open battery-report.html and confirm the new Design Capacity and Full Charge Capacity values are detected. Small variance is normal.
Tips for longer life
- Keep vents clear and avoid heat; clean dust periodically.
- Daily use in the 20–80% range is gentler than frequent 0–100% swings.
- If storing for weeks, leave ~40–60% charge in a cool, dry place.
Troubleshooting
Laptop won’t power on after replacement
- Check the battery connector is fully seated and not offset.
- Do an embedded controller reset: unplug AC → hold power for 15–30s → reconnect AC → power on.
- Try booting on AC only (some boards will start even with battery disabled).
- Reseat RAM/SSD if you disturbed them; inspect for trapped cables.
“Plugged in, not charging”
- Boot to BIOS to check if the battery is detected.
- In Windows, uninstall the battery under Device Manager → Batteries (ACPI entries), reboot.
- Update BIOS/firmware and chipset drivers from HP support.
Old battery disposal
Recycle via local e-waste/WEEE programs. Do not throw Li-ion batteries in household trash.
Need the correct HT03XL part?
Bottom line: Replacing an HT03XL is straightforward: remove the base cover, disconnect/unscrew the old pack, fit the new one, and calibrate. Take your time with the connector and screws, and your HP laptop will be back to reliable runtime in minutes.