How to Fix HP ENVY 13-d101nt W7R05EA That Won’t Charge, Plugged in, not charging

If your HP ENVY 13-d101nt W7R05EA is not charging when plugged in and displays the message “Plugged in, not charging,” there are several potential reasons for this issue. Here are some steps you can take to troubleshoot and potentially resolve the problem:

Check the Power Adapter:


HP ENVY 13-d101nt W7R05EA AC Adapter Charger


Ensure that the power adapter is properly connected to both the HP ENVY 13-d101nt W7R05EA laptop and the power outlet. Check for any damage to the power cable or adapter. If possible, try using a different power outlet.


Inspect the Charging Port:

Examine the charging port on your laptop for any dust, debris, or damage. If there is anything obstructing the connection, it can prevent proper charging. Use compressed air to clean the port gently.

Remove and Reinsert the Battery (If Applicable):

If your laptop has a removable battery, power it off, remove the battery, and then reinsert it. Sometimes, this simple action can resolve charging issues.
Restart the Laptop:

Restart your laptop and check if the issue persists. Sometimes, a simple reboot can resolve software-related issues.

Update Battery Drivers:

Go to “Device Manager” on your laptop, expand the “Batteries” section, and right-click on the Microsoft ACPI-Compliant Control Method Battery. Select “Update driver” and follow the on-screen instructions.
Check Power Settings:

Open “Power & sleep settings” and click on “Additional power settings.” Ensure that your power plan is set to a balanced or high-performance mode. Sometimes, power settings can affect charging behavior.

Perform a Battery Report:

Open a Command Prompt as an administrator and type the following command to generate a battery report:

powercfg /batteryreport
This report provides detailed information about your laptop’s battery health.

Update BIOS/UEFI:

Check if there is a BIOS or UEFI update available for your laptop on the manufacturer’s website. Sometimes, updates address battery-related issues.
Battery Calibration (If Applicable):

Some laptops may benefit from battery calibration. This involves fully charging and then fully discharging the battery. Check your laptop’s manual or the manufacturer’s website for specific instructions on calibrating the battery.

Check for Windows Updates:

Ensure that your operating system is up to date. Sometimes, Windows updates include fixes for hardware-related issues.
If none of these steps resolve the issue, there may be a hardware problem with the battery or the charging circuit. In such cases, it’s recommended to contact the HP support for further assistance or take the laptop to an authorized service center for professional inspection and repair.

How to Fix HP PAVILION-X360-14-DH0010NG-7BP83EA That Won’t Charge, Plugged in, not charging

If your HP PAVILION-X360-14-DH0010NG-7BP83EA is not charging when plugged in and displays the message “Plugged in, not charging,” there are several potential reasons for this issue. Here are some steps you can take to troubleshoot and potentially resolve the problem:

Check the Power Adapter:


HP PAVILION-X360-14-DH0010NG-7BP83EA AC Adapter Charger


Ensure that the power adapter is properly connected to both the HP PAVILION-X360-14-DH0010NG-7BP83EA laptop and the power outlet. Check for any damage to the power cable or adapter. If possible, try using a different power outlet.


Inspect the Charging Port:

Examine the charging port on your laptop for any dust, debris, or damage. If there is anything obstructing the connection, it can prevent proper charging. Use compressed air to clean the port gently.

Remove and Reinsert the Battery (If Applicable):

If your laptop has a removable battery, power it off, remove the battery, and then reinsert it. Sometimes, this simple action can resolve charging issues.
Restart the Laptop:

Restart your laptop and check if the issue persists. Sometimes, a simple reboot can resolve software-related issues.

Update Battery Drivers:

Go to “Device Manager” on your laptop, expand the “Batteries” section, and right-click on the Microsoft ACPI-Compliant Control Method Battery. Select “Update driver” and follow the on-screen instructions.
Check Power Settings:

Open “Power & sleep settings” and click on “Additional power settings.” Ensure that your power plan is set to a balanced or high-performance mode. Sometimes, power settings can affect charging behavior.

Perform a Battery Report:

Open a Command Prompt as an administrator and type the following command to generate a battery report:

powercfg /batteryreport
This report provides detailed information about your laptop’s battery health.

Update BIOS/UEFI:

Check if there is a BIOS or UEFI update available for your laptop on the manufacturer’s website. Sometimes, updates address battery-related issues.
Battery Calibration (If Applicable):

Some laptops may benefit from battery calibration. This involves fully charging and then fully discharging the battery. Check your laptop’s manual or the manufacturer’s website for specific instructions on calibrating the battery.

Check for Windows Updates:

Ensure that your operating system is up to date. Sometimes, Windows updates include fixes for hardware-related issues.
If none of these steps resolve the issue, there may be a hardware problem with the battery or the charging circuit. In such cases, it’s recommended to contact the HP support for further assistance or take the laptop to an authorized service center for professional inspection and repair.

How to Fix HP Pavilion 14-al002ns X9Z67EA That Won’t Charge, Plugged in, not charging

If your HP Pavilion 14-al002ns X9Z67EA is not charging when plugged in and displays the message “Plugged in, not charging,” there are several potential reasons for this issue. Here are some steps you can take to troubleshoot and potentially resolve the problem:

Check the Power Adapter:


HP Pavilion 14-al002ns X9Z67EA AC Adapter Charger


Ensure that the power adapter is properly connected to both the HP Pavilion 14-al002ns X9Z67EA laptop and the power outlet. Check for any damage to the power cable or adapter. If possible, try using a different power outlet.


Inspect the Charging Port:

Examine the charging port on your laptop for any dust, debris, or damage. If there is anything obstructing the connection, it can prevent proper charging. Use compressed air to clean the port gently.

Remove and Reinsert the Battery (If Applicable):

If your laptop has a removable battery, power it off, remove the battery, and then reinsert it. Sometimes, this simple action can resolve charging issues.
Restart the Laptop:

Restart your laptop and check if the issue persists. Sometimes, a simple reboot can resolve software-related issues.

Update Battery Drivers:

Go to “Device Manager” on your laptop, expand the “Batteries” section, and right-click on the Microsoft ACPI-Compliant Control Method Battery. Select “Update driver” and follow the on-screen instructions.
Check Power Settings:

Open “Power & sleep settings” and click on “Additional power settings.” Ensure that your power plan is set to a balanced or high-performance mode. Sometimes, power settings can affect charging behavior.

Perform a Battery Report:

Open a Command Prompt as an administrator and type the following command to generate a battery report:

powercfg /batteryreport
This report provides detailed information about your laptop’s battery health.

Update BIOS/UEFI:

Check if there is a BIOS or UEFI update available for your laptop on the manufacturer’s website. Sometimes, updates address battery-related issues.
Battery Calibration (If Applicable):

Some laptops may benefit from battery calibration. This involves fully charging and then fully discharging the battery. Check your laptop’s manual or the manufacturer’s website for specific instructions on calibrating the battery.

Check for Windows Updates:

Ensure that your operating system is up to date. Sometimes, Windows updates include fixes for hardware-related issues.
If none of these steps resolve the issue, there may be a hardware problem with the battery or the charging circuit. In such cases, it’s recommended to contact the HP support for further assistance or take the laptop to an authorized service center for professional inspection and repair.

A Charge You Can Count On: Genuine 130W AC Adapter Lenovo IdeaCentre A600 3011-3AU with Cord

Powering Your Productivity: Unveiling the Genuine 130W AC Adapter Lenovo IdeaCentre A600 3011-3AU with Cord

As technology becomes an integral part of our daily lives, having a reliable and efficient power source is crucial. For users of the Genuine 130W AC Adapter Lenovo IdeaCentre A600 3011-3AU with Cord, the right AC adapter charger is not just a convenience but a necessity to ensure uninterrupted productivity. Let’s take a deeper look into the power behind the device and how the Genuine 130W AC Adapter Lenovo IdeaCentre A600 3011-3AU with Cord  complements this exceptional laptop.

1. Purposeful Design
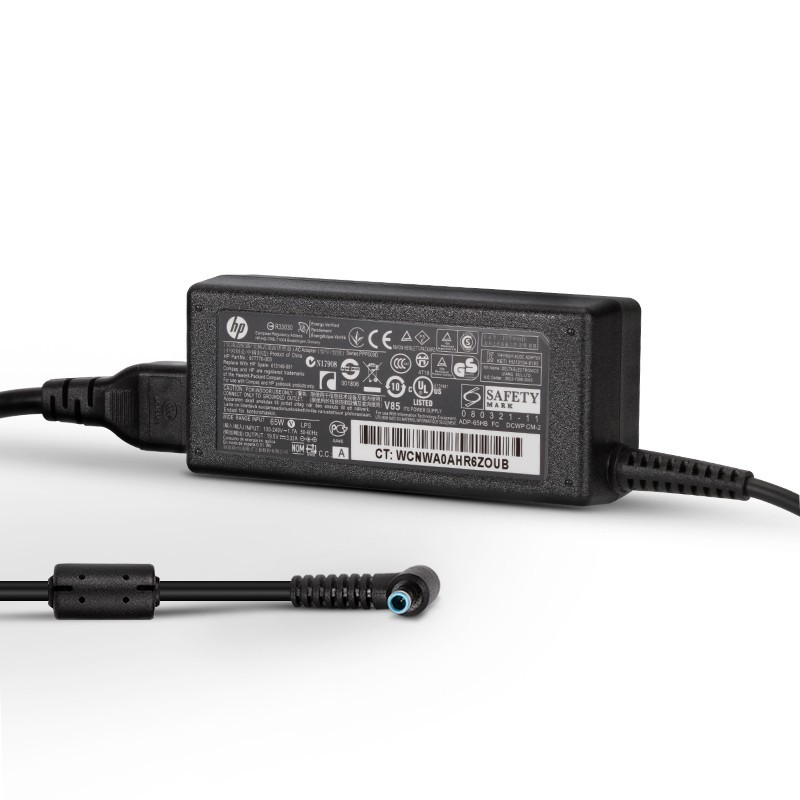
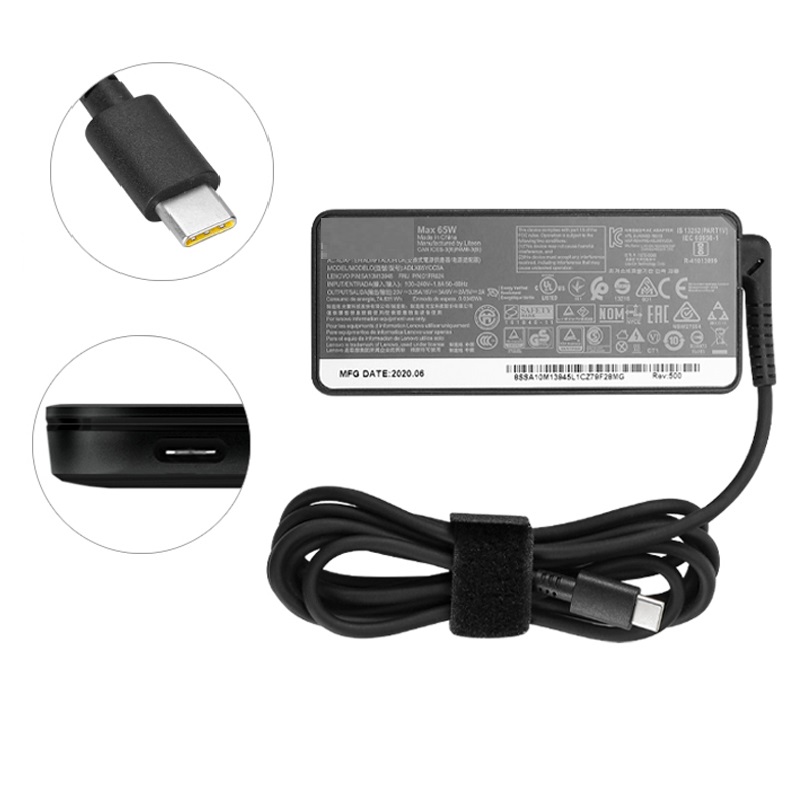
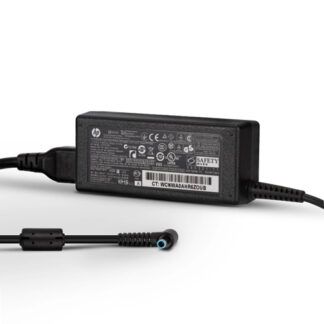
The Genuine 130W AC Adapter Lenovo IdeaCentre A600 3011-3AU with Cord  is crafted with a thoughtful design. Its compact size and sturdy construction make it an ideal companion for those on the go. The slim form factor and durable build ensure both portability and resilience, catering to the demanding needs of modern professionals.

Genuine 130W AC Adapter Lenovo IdeaCentre A600 3011-3AU with  Cord


2. Enhanced Compatibility

One of the standout features of this charger is its seamless compatibility with the HP EliteBook x360 1030 G3 Notebook PC-7HE47UP AC Adapter Charger . This compatibility ensures a perfect fit and optimized charging capability, eliminating concerns about compatibility issues or subpar charging speeds.

HP EliteBook x360 1030 G3 Notebook PC-7HE47UP AC Adapter Charger


3. Power and Performance

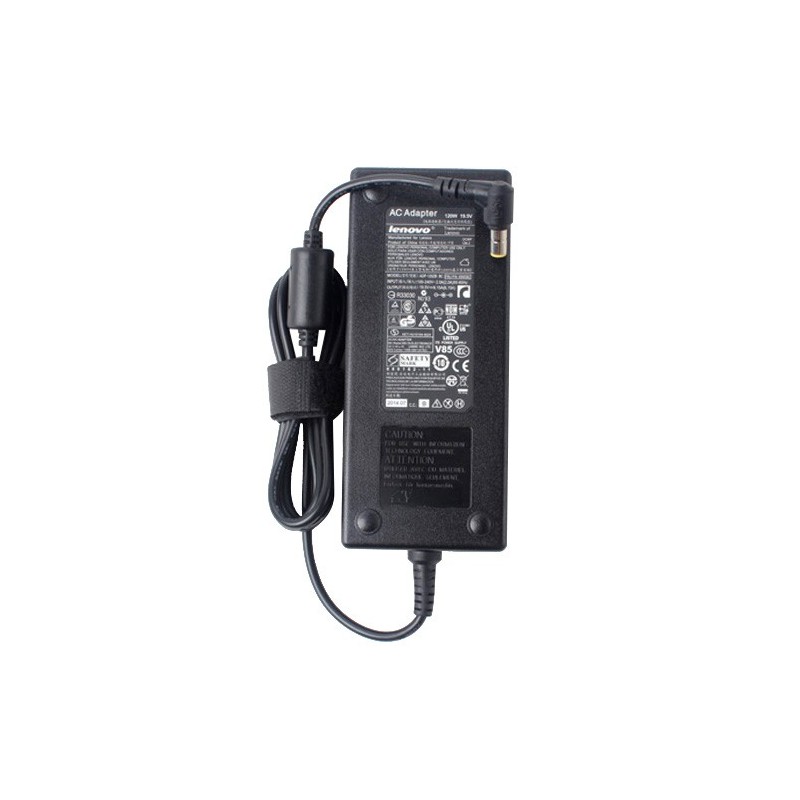
Delivering consistent power is where this charger excels. With its efficient power delivery, the Lenovo ThinkPad T14 Gen 2 (Intel) 20W0 20W000VRMZ AC Adapter Charger ensures a stable and reliable flow of energy to the device. This contributes to a hassle-free charging experience, allowing users to focus on their tasks without worrying about abrupt power interruptions.

Lenovo ThinkPad T14 Gen 2 (Intel) 20W0 20W000VRMZ AC Adapter Charger
4. Portability and Convenience

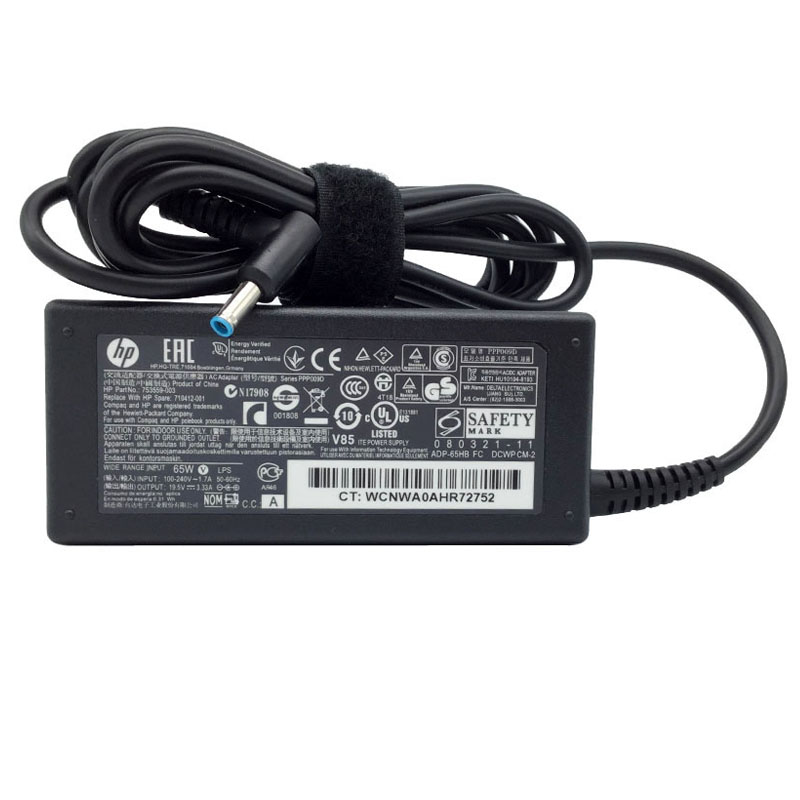
The portability factor of the charger aligns perfectly with the ThinkPad’s on-the-go nature. Its small size and detachable cord facilitate easy packing and hassle-free transportation, whether for work, travel, or home use.

5. Reliability and Durability

The longevity and durability of the  charger are noteworthy. Built to endure regular use, the charger’s robust design, including the cable and connectors, guarantees a prolonged and reliable lifespan.

6. Conclusion

In conclusion, the Genuine 130W AC Adapter Lenovo IdeaCentre A600 3011-3AU with Cord proves to be more than just a mere accessory. It’s a companion ensuring the device’s optimal performance and reliability, empowering users with the freedom to use their HP EliteBook x360 1030 G3 Notebook PC-7HE47UP AC Adapter Charger without worrying about power constraints.

Whether you’re a professional on the move or a student with a busy schedule, the Genuine 130W AC Adapter Lenovo IdeaCentre A600 3011-3AU with Cord provides the stability and convenience necessary to keep your work and activities uninterrupted.

So, if you’re seeking a trustworthy power source that aligns seamlessly with your HP EliteBook x360 1030 G3 Notebook PC-7HE47UP AC Adapter Charger, the Lenovo ThinkPad T14 Gen 2 (Intel) 20W0 20W000VRMZ AC Adapter Charger stands as an essential and dependable choice.


How to Fix HP Pavilion 14-ba039tx 2BF00PA That Won’t Charge, Plugged in, not charging

If your HP Pavilion 14-ba039tx 2BF00PA is not charging when plugged in and displays the message “Plugged in, not charging,” there are several potential reasons for this issue. Here are some steps you can take to troubleshoot and potentially resolve the problem:

Check the Power Adapter:


HP Pavilion 14-ba039tx 2BF00PA AC Adapter Charger


Ensure that the power adapter is properly connected to both the HP Pavilion 14-ba039tx 2BF00PA laptop and the power outlet. Check for any damage to the power cable or adapter. If possible, try using a different power outlet.


Inspect the Charging Port:

Examine the charging port on your laptop for any dust, debris, or damage. If there is anything obstructing the connection, it can prevent proper charging. Use compressed air to clean the port gently.

Remove and Reinsert the Battery (If Applicable):

If your laptop has a removable battery, power it off, remove the battery, and then reinsert it. Sometimes, this simple action can resolve charging issues.
Restart the Laptop:

Restart your laptop and check if the issue persists. Sometimes, a simple reboot can resolve software-related issues.

Update Battery Drivers:

Go to “Device Manager” on your laptop, expand the “Batteries” section, and right-click on the Microsoft ACPI-Compliant Control Method Battery. Select “Update driver” and follow the on-screen instructions.
Check Power Settings:

Open “Power & sleep settings” and click on “Additional power settings.” Ensure that your power plan is set to a balanced or high-performance mode. Sometimes, power settings can affect charging behavior.

Perform a Battery Report:

Open a Command Prompt as an administrator and type the following command to generate a battery report:

powercfg /batteryreport
This report provides detailed information about your laptop’s battery health.

Update BIOS/UEFI:

Check if there is a BIOS or UEFI update available for your laptop on the manufacturer’s website. Sometimes, updates address battery-related issues.
Battery Calibration (If Applicable):

Some laptops may benefit from battery calibration. This involves fully charging and then fully discharging the battery. Check your laptop’s manual or the manufacturer’s website for specific instructions on calibrating the battery.

Check for Windows Updates:

Ensure that your operating system is up to date. Sometimes, Windows updates include fixes for hardware-related issues.
If none of these steps resolve the issue, there may be a hardware problem with the battery or the charging circuit. In such cases, it’s recommended to contact the HP support for further assistance or take the laptop to an authorized service center for professional inspection and repair.

How to Fix HP Pavilion 15-eg0016nw That Won’t Charge, Plugged in, not charging

If your HP Pavilion 15-eg0016nw is not charging when plugged in and displays the message “Plugged in, not charging,” there are several potential reasons for this issue. Here are some steps you can take to troubleshoot and potentially resolve the problem:

Check the Power Adapter:


HP Pavilion 15-eg0016nw AC Adapter Charger


Ensure that the power adapter is properly connected to both the HP Pavilion 15-eg0016nw laptop and the power outlet. Check for any damage to the power cable or adapter. If possible, try using a different power outlet.


Inspect the Charging Port:

Examine the charging port on your laptop for any dust, debris, or damage. If there is anything obstructing the connection, it can prevent proper charging. Use compressed air to clean the port gently.

Remove and Reinsert the Battery (If Applicable):

If your laptop has a removable battery, power it off, remove the battery, and then reinsert it. Sometimes, this simple action can resolve charging issues.
Restart the Laptop:

Restart your laptop and check if the issue persists. Sometimes, a simple reboot can resolve software-related issues.

Update Battery Drivers:

Go to “Device Manager” on your laptop, expand the “Batteries” section, and right-click on the Microsoft ACPI-Compliant Control Method Battery. Select “Update driver” and follow the on-screen instructions.
Check Power Settings:

Open “Power & sleep settings” and click on “Additional power settings.” Ensure that your power plan is set to a balanced or high-performance mode. Sometimes, power settings can affect charging behavior.

Perform a Battery Report:

Open a Command Prompt as an administrator and type the following command to generate a battery report:

powercfg /batteryreport
This report provides detailed information about your laptop’s battery health.

Update BIOS/UEFI:

Check if there is a BIOS or UEFI update available for your laptop on the manufacturer’s website. Sometimes, updates address battery-related issues.
Battery Calibration (If Applicable):

Some laptops may benefit from battery calibration. This involves fully charging and then fully discharging the battery. Check your laptop’s manual or the manufacturer’s website for specific instructions on calibrating the battery.

Check for Windows Updates:

Ensure that your operating system is up to date. Sometimes, Windows updates include fixes for hardware-related issues.
If none of these steps resolve the issue, there may be a hardware problem with the battery or the charging circuit. In such cases, it’s recommended to contact the HP support for further assistance or take the laptop to an authorized service center for professional inspection and repair.

How to Fix HP 17-BY2434NG-8KF35EA That Won’t Charge, Plugged in, not charging

If your HP 17-BY2434NG-8KF35EA is not charging when plugged in and displays the message “Plugged in, not charging,” there are several potential reasons for this issue. Here are some steps you can take to troubleshoot and potentially resolve the problem:

Check the Power Adapter:


HP 17-BY2434NG-8KF35EA AC Adapter Charger


Ensure that the power adapter is properly connected to both the HP 17-BY2434NG-8KF35EA laptop and the power outlet. Check for any damage to the power cable or adapter. If possible, try using a different power outlet.


Inspect the Charging Port:

Examine the charging port on your laptop for any dust, debris, or damage. If there is anything obstructing the connection, it can prevent proper charging. Use compressed air to clean the port gently.

Remove and Reinsert the Battery (If Applicable):

If your laptop has a removable battery, power it off, remove the battery, and then reinsert it. Sometimes, this simple action can resolve charging issues.
Restart the Laptop:

Restart your laptop and check if the issue persists. Sometimes, a simple reboot can resolve software-related issues.

Update Battery Drivers:

Go to “Device Manager” on your laptop, expand the “Batteries” section, and right-click on the Microsoft ACPI-Compliant Control Method Battery. Select “Update driver” and follow the on-screen instructions.
Check Power Settings:

Open “Power & sleep settings” and click on “Additional power settings.” Ensure that your power plan is set to a balanced or high-performance mode. Sometimes, power settings can affect charging behavior.

Perform a Battery Report:

Open a Command Prompt as an administrator and type the following command to generate a battery report:

powercfg /batteryreport
This report provides detailed information about your laptop’s battery health.

Update BIOS/UEFI:

Check if there is a BIOS or UEFI update available for your laptop on the manufacturer’s website. Sometimes, updates address battery-related issues.
Battery Calibration (If Applicable):

Some laptops may benefit from battery calibration. This involves fully charging and then fully discharging the battery. Check your laptop’s manual or the manufacturer’s website for specific instructions on calibrating the battery.

Check for Windows Updates:

Ensure that your operating system is up to date. Sometimes, Windows updates include fixes for hardware-related issues.
If none of these steps resolve the issue, there may be a hardware problem with the battery or the charging circuit. In such cases, it’s recommended to contact the HP support for further assistance or take the laptop to an authorized service center for professional inspection and repair.

How to Fix HP 650-B6N10EA That Won’t Charge, Plugged in, not charging

If your HP 650-B6N10EA is not charging when plugged in and displays the message “Plugged in, not charging,” there are several potential reasons for this issue. Here are some steps you can take to troubleshoot and potentially resolve the problem:

Check the Power Adapter:


HP 650-B6N10EA AC Adapter Charger


Ensure that the power adapter is properly connected to both the HP 650-B6N10EA laptop and the power outlet. Check for any damage to the power cable or adapter. If possible, try using a different power outlet.


Inspect the Charging Port:

Examine the charging port on your laptop for any dust, debris, or damage. If there is anything obstructing the connection, it can prevent proper charging. Use compressed air to clean the port gently.

Remove and Reinsert the Battery (If Applicable):

If your laptop has a removable battery, power it off, remove the battery, and then reinsert it. Sometimes, this simple action can resolve charging issues.
Restart the Laptop:

Restart your laptop and check if the issue persists. Sometimes, a simple reboot can resolve software-related issues.

Update Battery Drivers:

Go to “Device Manager” on your laptop, expand the “Batteries” section, and right-click on the Microsoft ACPI-Compliant Control Method Battery. Select “Update driver” and follow the on-screen instructions.
Check Power Settings:

Open “Power & sleep settings” and click on “Additional power settings.” Ensure that your power plan is set to a balanced or high-performance mode. Sometimes, power settings can affect charging behavior.

Perform a Battery Report:

Open a Command Prompt as an administrator and type the following command to generate a battery report:

powercfg /batteryreport
This report provides detailed information about your laptop’s battery health.

Update BIOS/UEFI:

Check if there is a BIOS or UEFI update available for your laptop on the manufacturer’s website. Sometimes, updates address battery-related issues.
Battery Calibration (If Applicable):

Some laptops may benefit from battery calibration. This involves fully charging and then fully discharging the battery. Check your laptop’s manual or the manufacturer’s website for specific instructions on calibrating the battery.

Check for Windows Updates:

Ensure that your operating system is up to date. Sometimes, Windows updates include fixes for hardware-related issues.
If none of these steps resolve the issue, there may be a hardware problem with the battery or the charging circuit. In such cases, it’s recommended to contact the HP support for further assistance or take the laptop to an authorized service center for professional inspection and repair.

How to Fix HP PROBOOK-4340S-C5P80PA That Won’t Charge, Plugged in, not charging

If your HP PROBOOK-4340S-C5P80PA is not charging when plugged in and displays the message “Plugged in, not charging,” there are several potential reasons for this issue. Here are some steps you can take to troubleshoot and potentially resolve the problem:

Check the Power Adapter:


HP PROBOOK-4340S-C5P80PA AC Adapter Charger


Ensure that the power adapter is properly connected to both the HP PROBOOK-4340S-C5P80PA laptop and the power outlet. Check for any damage to the power cable or adapter. If possible, try using a different power outlet.


Inspect the Charging Port:

Examine the charging port on your laptop for any dust, debris, or damage. If there is anything obstructing the connection, it can prevent proper charging. Use compressed air to clean the port gently.

Remove and Reinsert the Battery (If Applicable):

If your laptop has a removable battery, power it off, remove the battery, and then reinsert it. Sometimes, this simple action can resolve charging issues.
Restart the Laptop:

Restart your laptop and check if the issue persists. Sometimes, a simple reboot can resolve software-related issues.

Update Battery Drivers:

Go to “Device Manager” on your laptop, expand the “Batteries” section, and right-click on the Microsoft ACPI-Compliant Control Method Battery. Select “Update driver” and follow the on-screen instructions.
Check Power Settings:

Open “Power & sleep settings” and click on “Additional power settings.” Ensure that your power plan is set to a balanced or high-performance mode. Sometimes, power settings can affect charging behavior.

Perform a Battery Report:

Open a Command Prompt as an administrator and type the following command to generate a battery report:

powercfg /batteryreport
This report provides detailed information about your laptop’s battery health.

Update BIOS/UEFI:

Check if there is a BIOS or UEFI update available for your laptop on the manufacturer’s website. Sometimes, updates address battery-related issues.
Battery Calibration (If Applicable):

Some laptops may benefit from battery calibration. This involves fully charging and then fully discharging the battery. Check your laptop’s manual or the manufacturer’s website for specific instructions on calibrating the battery.

Check for Windows Updates:

Ensure that your operating system is up to date. Sometimes, Windows updates include fixes for hardware-related issues.
If none of these steps resolve the issue, there may be a hardware problem with the battery or the charging circuit. In such cases, it’s recommended to contact the HP support for further assistance or take the laptop to an authorized service center for professional inspection and repair.

How to Fix HP 15-BS048NG-2CT91EA That Won’t Charge, Plugged in, not charging

If your HP 15-BS048NG-2CT91EA is not charging when plugged in and displays the message “Plugged in, not charging,” there are several potential reasons for this issue. Here are some steps you can take to troubleshoot and potentially resolve the problem:

Check the Power Adapter:


HP 15-BS048NG-2CT91EA AC Adapter Charger


Ensure that the power adapter is properly connected to both the HP 15-BS048NG-2CT91EA laptop and the power outlet. Check for any damage to the power cable or adapter. If possible, try using a different power outlet.


Inspect the Charging Port:

Examine the charging port on your laptop for any dust, debris, or damage. If there is anything obstructing the connection, it can prevent proper charging. Use compressed air to clean the port gently.

Remove and Reinsert the Battery (If Applicable):

If your laptop has a removable battery, power it off, remove the battery, and then reinsert it. Sometimes, this simple action can resolve charging issues.
Restart the Laptop:

Restart your laptop and check if the issue persists. Sometimes, a simple reboot can resolve software-related issues.

Update Battery Drivers:

Go to “Device Manager” on your laptop, expand the “Batteries” section, and right-click on the Microsoft ACPI-Compliant Control Method Battery. Select “Update driver” and follow the on-screen instructions.
Check Power Settings:

Open “Power & sleep settings” and click on “Additional power settings.” Ensure that your power plan is set to a balanced or high-performance mode. Sometimes, power settings can affect charging behavior.

Perform a Battery Report:

Open a Command Prompt as an administrator and type the following command to generate a battery report:

powercfg /batteryreport
This report provides detailed information about your laptop’s battery health.

Update BIOS/UEFI:

Check if there is a BIOS or UEFI update available for your laptop on the manufacturer’s website. Sometimes, updates address battery-related issues.
Battery Calibration (If Applicable):

Some laptops may benefit from battery calibration. This involves fully charging and then fully discharging the battery. Check your laptop’s manual or the manufacturer’s website for specific instructions on calibrating the battery.

Check for Windows Updates:

Ensure that your operating system is up to date. Sometimes, Windows updates include fixes for hardware-related issues.
If none of these steps resolve the issue, there may be a hardware problem with the battery or the charging circuit. In such cases, it’s recommended to contact the HP support for further assistance or take the laptop to an authorized service center for professional inspection and repair.